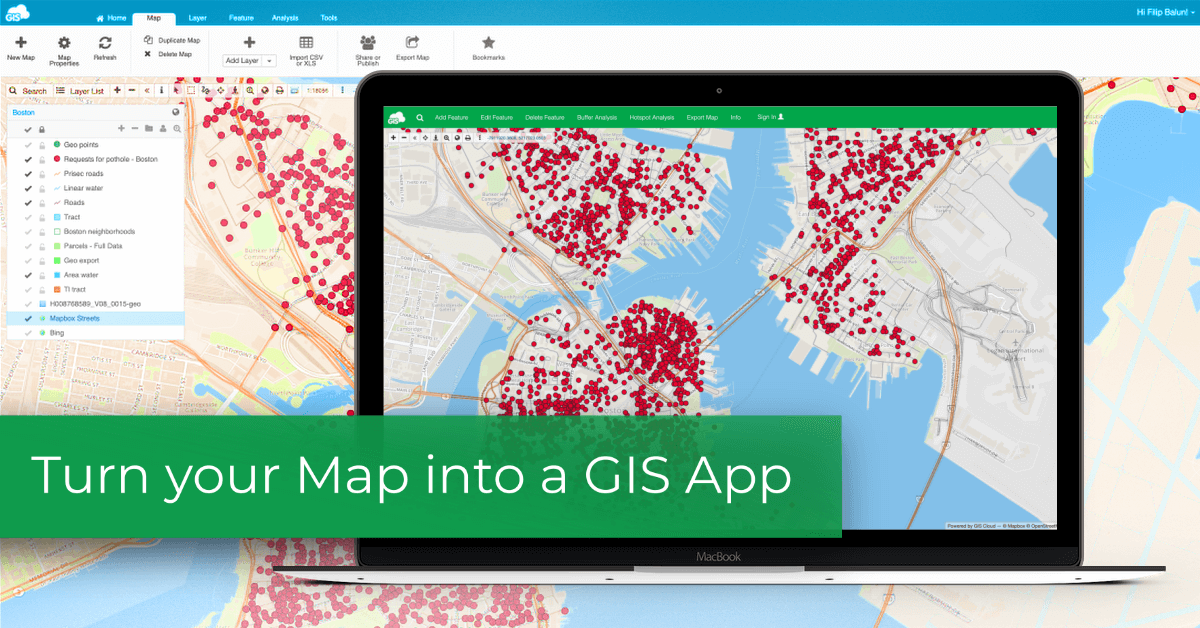
In this article, we’ll show you the fastest and easiest way to create an online GIS app with the App Builder. We’ll also weigh in on the benefits of online GIS apps over desktop GIS.
If your company uses maps and field data daily, you probably have a person in charge of the data. In most cases, that person is a GIS or CAD specialist or an entire assets management department. And it’s common to have multiple streams of location data coming from field engineers, field workers, subcontractors, and others. All of this can equate to a mess of epic proportions, from errors when transcribing data to having problems with sending large datasets to clients.
To curb these issues, create an online GIS app that acts as a central access point for all the data and also allows collaboration across the board. Sometimes you can find a ready-made app that fixes your workflow, but in many cases, it’s necessary to develop a web-based GIS application. The downside is that gis web application development is often just too much work. That’s why we’ve developed the App Builder and the Map Portal. GIS tools that allow you to create a web-based GIS app in no time, with little or no coding.
Keep reading and learn what kind of heavy-lifting our geospatial platform is capable of and learn how to build and deploy a production-ready web-based GIS app in just one afternoon.
Is Desktop GIS a Sensible Solution for Collaboration?
Let’s start with an example. You have a colleague from finance or legal team to whom you want to share a parcel map so they can attach a legal or finance document to each parcel. If you’re using desktop GIS, this simple task can turn out to be a lot of work. And we mean a lot of work for the GIS/CAD specialist.
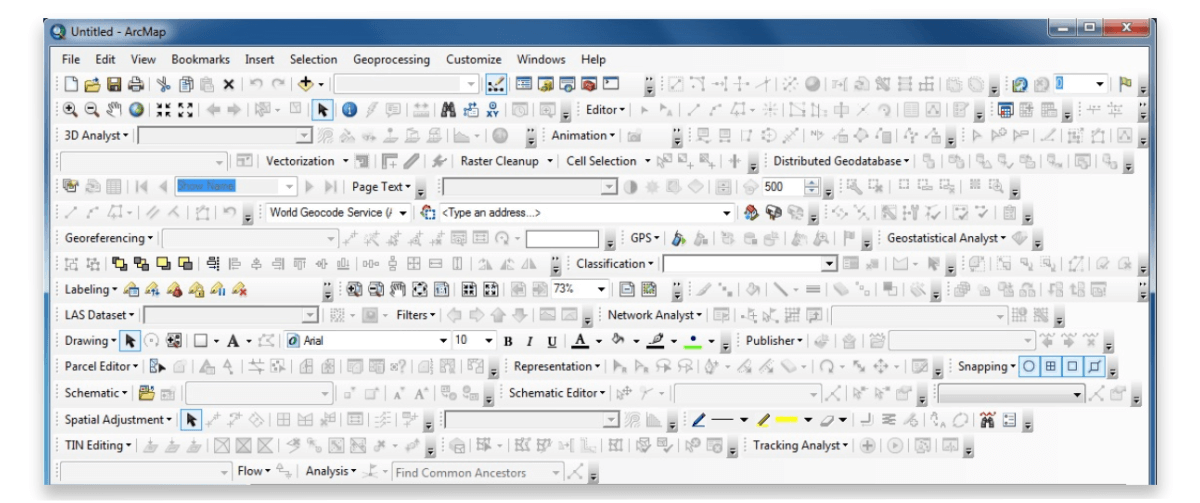
Sharing large geospatial datasets with clients and subcontractors can also be cumbersome. Your client may not have GIS skills or even a way to open your dataset. Not to mention that if the dataset is large, you won’t be able to send the data easily.
Desktop GIS is a one-way channel for communication and collaboration. So it makes sense to get an online GIS app that helps everyone involved to collaborate seamlessly.
Using a Web-Based GIS App
With the App Builder, you can create an online map portal that any number of people can view, edit, or export data from. You can manage permissions for users and customize the map portal to fit your workflow. Also, it is really easy to create a branded application by personalizing custom UI elements and adding your company logo.
Having all data in one place, available to all stakeholders, is the key to company-wide collaboration. Forget about transcribing data, field data errors and data scattered on several servers.
The App Builder and Map Portal give you a chance to create and try out the solution at no cost. You can create an app and try it out for your workflow to see if it fits your needs.
How to Create a GIS App in One Afternoon
You can find the App Builder in our Map Portal app. As an example, we’ll showcase all of the features by showing you how to create a GIS application that lets you manage pothole locations in the city of Boston.
Let’s start with setting up the app and choosing the domain.
1. Create an instance and choose the domain
First, you’ll need to open your Map Portal app and create a new app instance and name the app. You can use the default domain name or contact our support team to setup a custom one. Here you can also adjust the ribbon color and add a logo (you’ll be able to make changes later on).
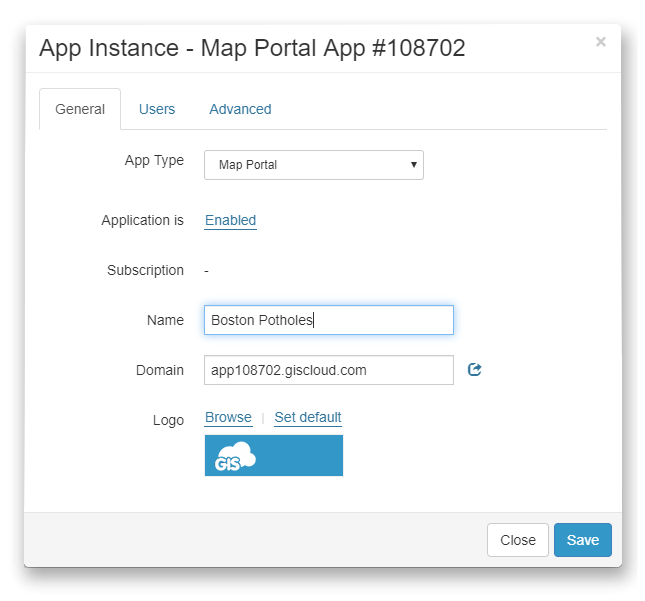
Hit Save, and you have your first GIS app template. The next steps explain how to customize the app to suit your workflow.
2. Add a map and customize the toolbar
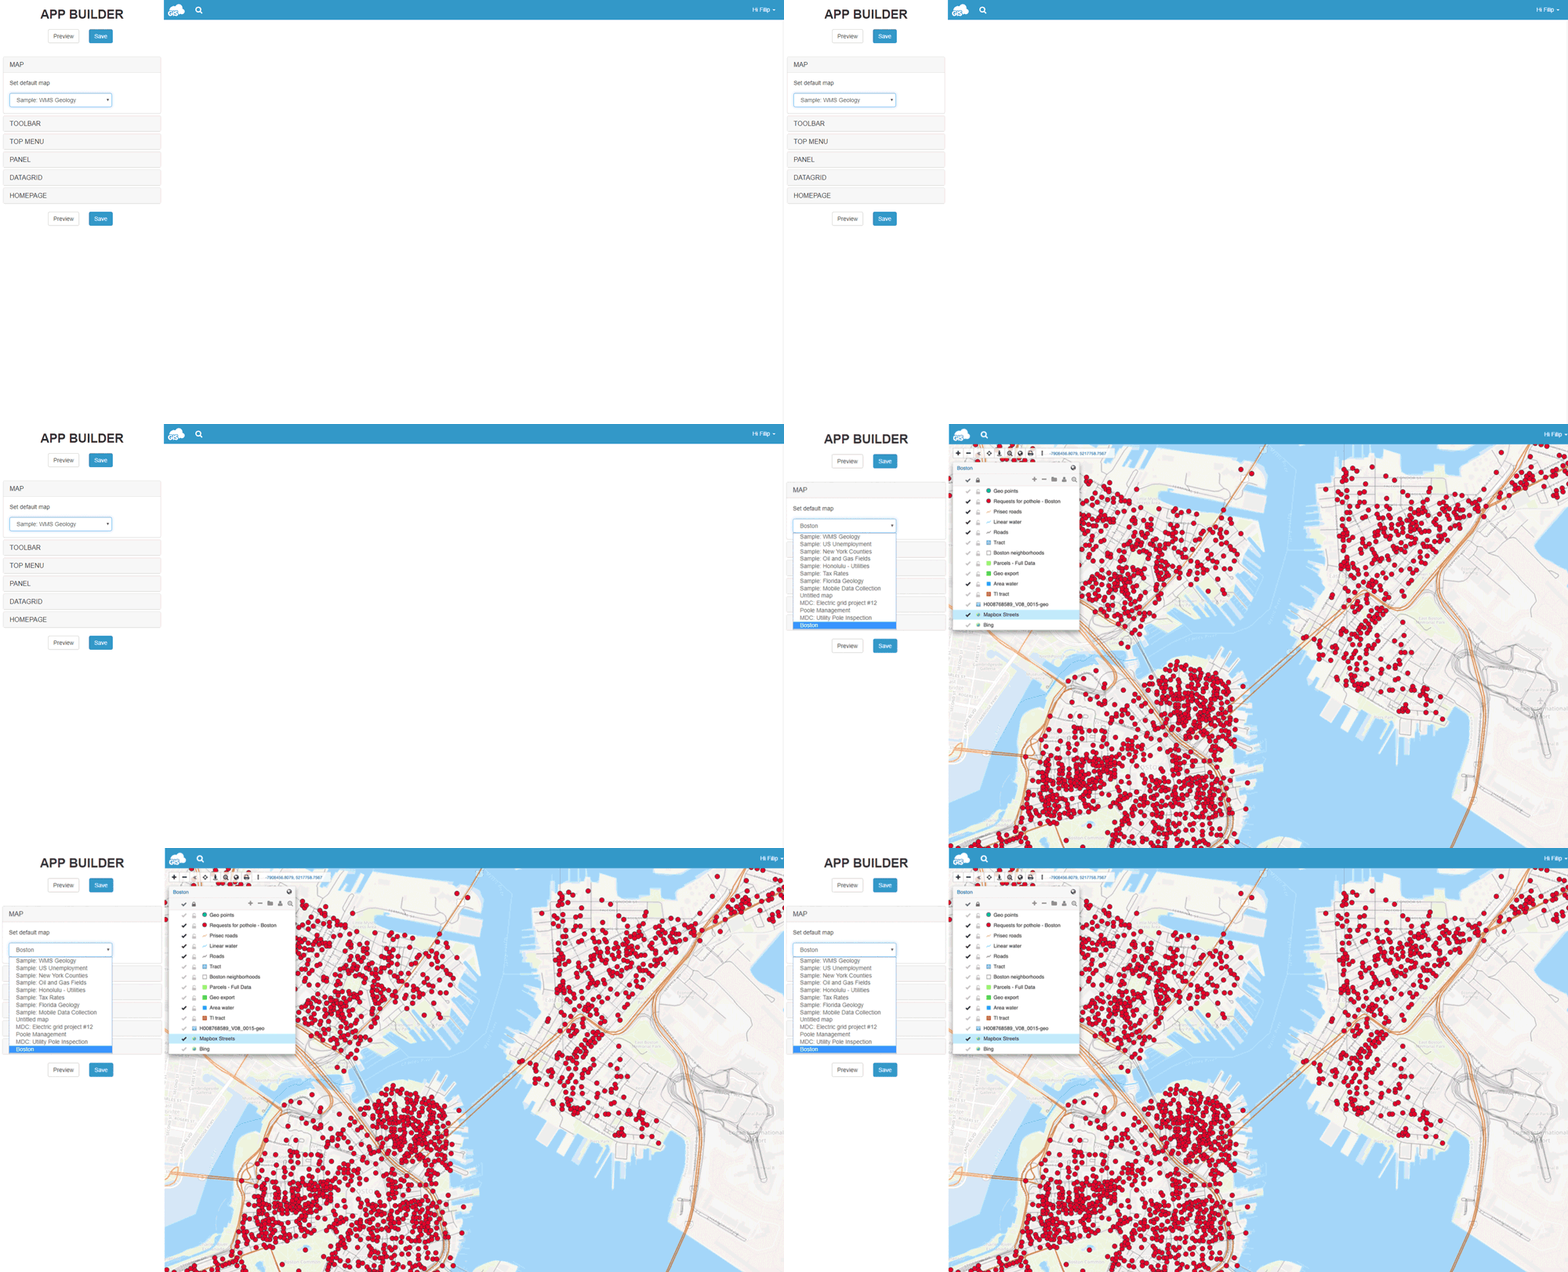
You can add any map you already have in the Map Editor app. Just choose it from the dropdown menu.
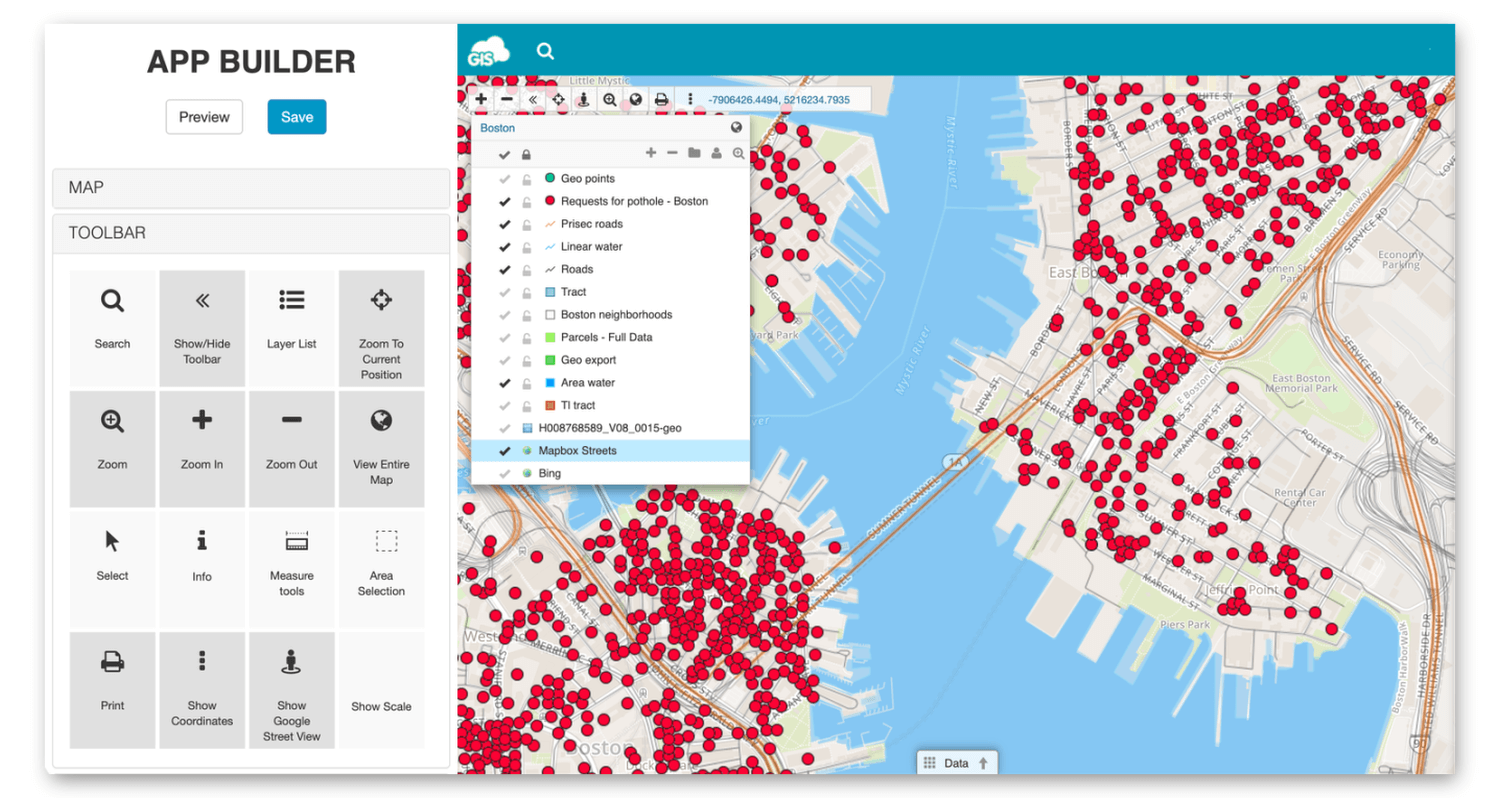
Now you can customize the main toolbar. There are many options that you can turn on and off:
- search
- show/hide toolbar
- Layer list
- zoom to current position
- zoom
- zoom in
- zoom out
- view entire map
- select
- info
- measure tools
- area selection
- show google street view
- show scale
- show coordinates
The map toolbar is located just above the layers list.
3. Add custom tools to the top menu
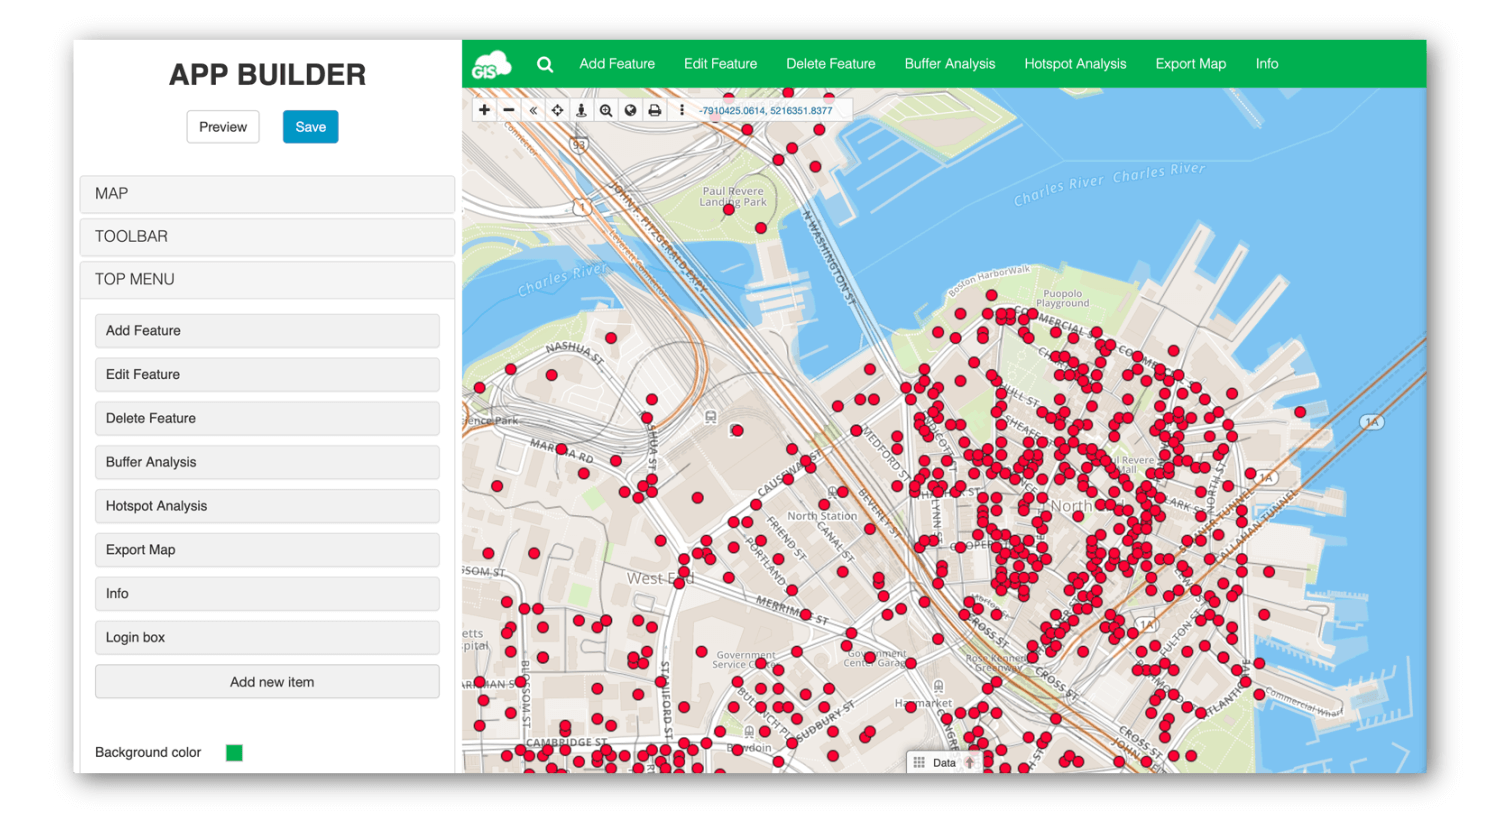
The is one of the most powerful features in the App Builder and it makes GIS application development a lot faster. It allows you to create a tool and add it to the top menu (ribbon). In the picture below, you can see the tools we’ve added to the menu. They allow the users to filter through the data, make changes on the map, do buffer and hotspot analysis and export data.
You can choose from many pre-made tools or create a custom tool by adding JavaScript code. All of these tools make it easy to deploy GIS applications daily, adjust them at any time, and have as many apps as you want.
Here are a few examples of tools you can create:
- Add, edit and delete map feature
- Export map or layer
- Create an info window
- Analysis tools (area, buffer, near, hotspot)
- Spatial filter
- Search box
- Custom code
Now that you know how to use the App Builder, it’s time for you to see a few real-life examples. Here are a few case studies that revolve around creating a GIS app with App Builder.
Crime Risk App – Carabineros De Chile
Creating a Hydrological Map Portal
Dynamic GIS Solution for Firefighters
There are endless ways you can customize your GIS app, so it’s best you explore the App Builder yourself. To get started, contact us, and we’ll set things up in no time.


